
Transport Server
The Transport Server is responsible for hosting game applications and handling communication with clients. It acts as a mediator that facilitates event-based data exchange between clients and applications running on the server, and also ensures that messages, updates, and events are transmitted efficiently and reliably among all connected players. Without it, the communication between the client and the application is not possible.
From the business perspective, the Transport Server allows running your apps on-premise, avoiding the need to turn to the expensive Cloud-based solutions.
For more conceptual information about this solution refer to the Transport Server material.
This material covers the installation of the Transport Server and its usage.
Installation
Server Installation
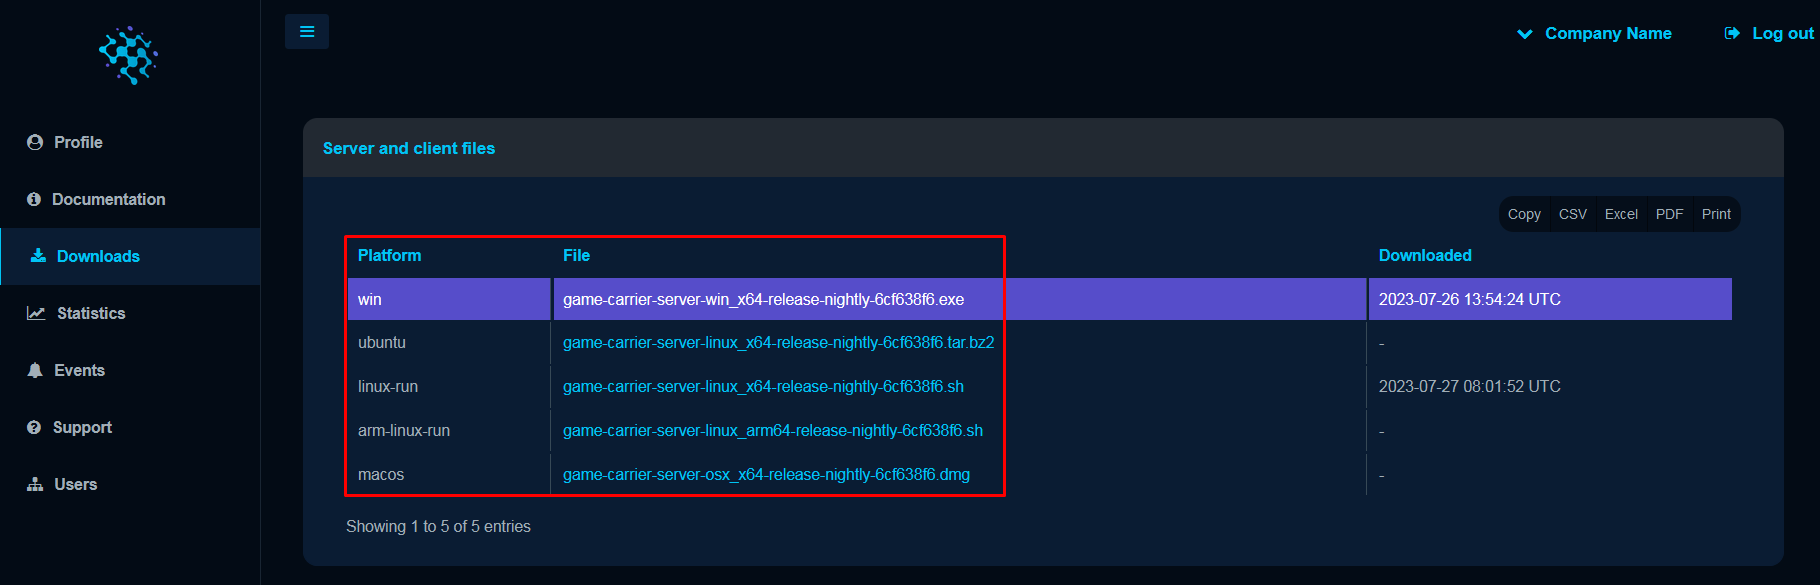
Sign in to your account and navigate to the Download section of the website. Select the appropriate platform(Windows, Linux, MacOS or Arm-Linux), download and install the gcs.
When installing for Linux platform using the shell script file, you can use the following options:
| Option | Description |
|---|---|
| –help | Fetches information from the shell’s internal documentation. |
| –prefix | Sets the path where all files will be installed. |
| –temp | Sets the path where temporary files are unpacked for installation. |
The installation package comes with the binary libraries for the Client and the Server application, and also the game-carrier.cmake file which is used to locate the gcs directory required for build purposes. By default, the file is located in the following folder:
The game-carrier.cmake file must be included in the CMakeLists.txt file.
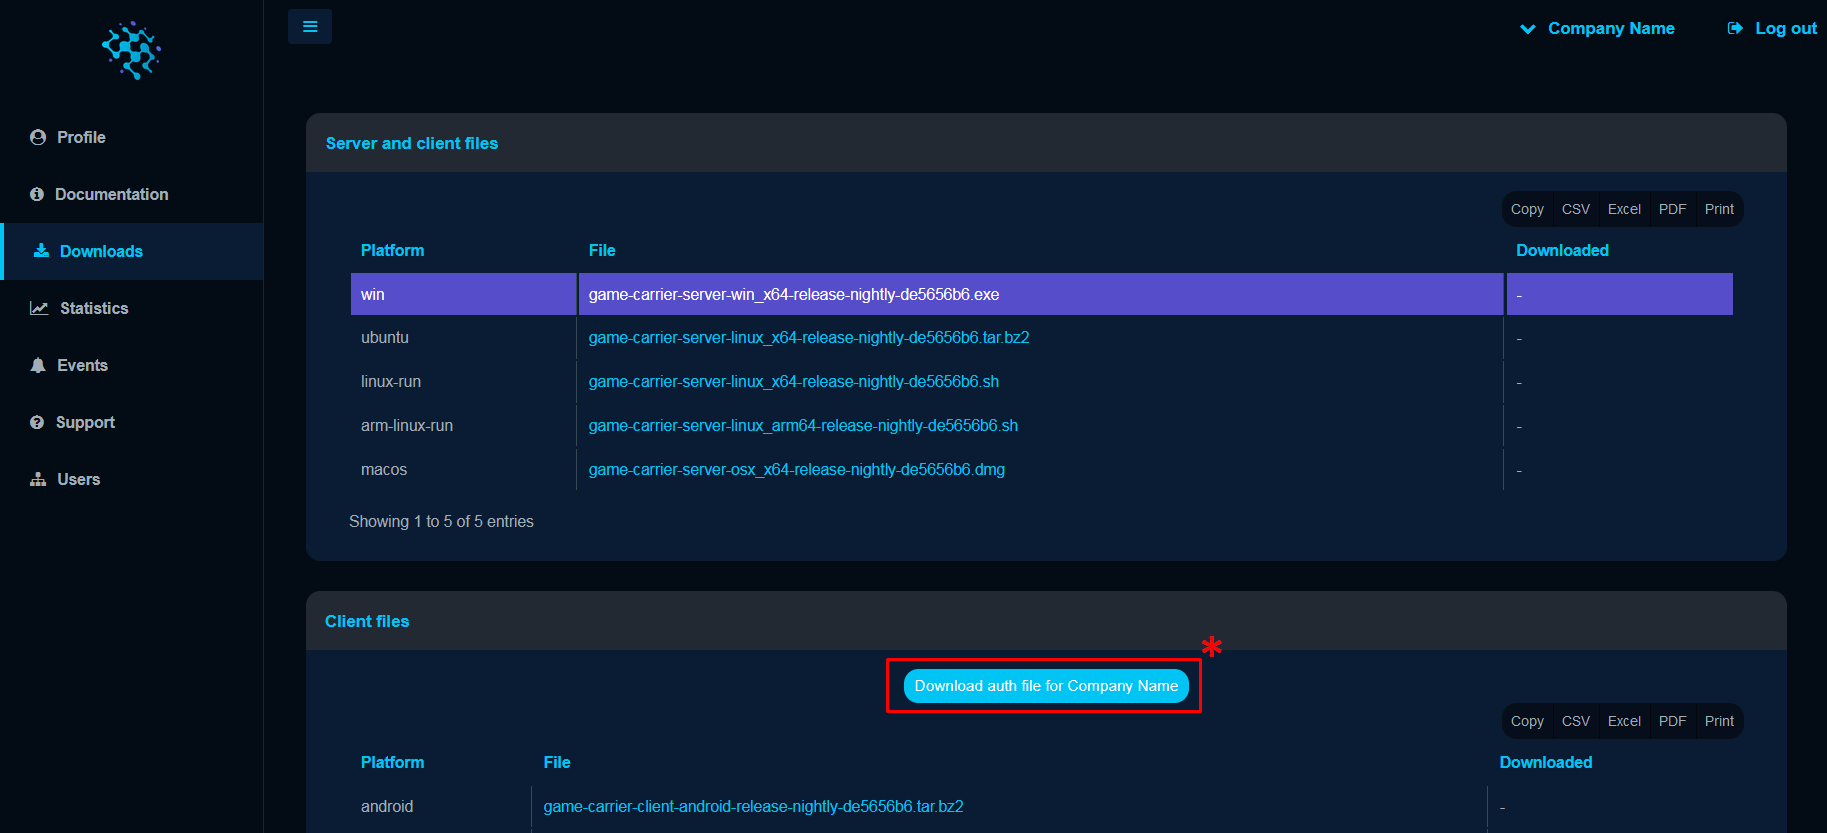
Additionally, you have to download the license file authentication.dat by clicking the Download auth file for... button in the Download section of the dashboard.
Once downloaded, move this file to the .gc folder in the user home directory:
Additional Dependencies
After the successful installation of the gcs you have to install additional components required to create the development environment that allows building applications from source. This material covers the build and the usage of the preconfigured client and the server application that must be downloaded from the Game Carrier’s Github repository.
In case you don’t want to use the preconfigured examples, simply install additional software provided below and skip the cloning of the Game Carrier’s repository.
First you have to download and install the following:
Once installed clone into the Game Carrier Examples repository:
git clone https://github.com/gamecarrier/examples
The examples repository contains the preconfigured configuration file and the server application which will be built and used further in this material.
About Server Config
The Transport Server is heavily reliant on the server configuration file that must be configured before running the server. Without it the server simply will not run. The server config is a .json file that stores different settings and information about the applications that the server must pick up and run. The configuration file must be retrieved from the examples repository, the config file(config.json.in) is located in the minimal_app folder.
In case you have downloaded the preconfigured examples from the Github repository containing the config file, then you can jump straight to the Building The Apps section.
Otherwise, you need to modify the configuration file to meet your custom requirements and return back to this guide. We strongly recommend reading the Server Configuration File material - there you will find exhaustive information about all properties and values required to modify the config and launch the server with your custom application.
Building The Server Application
This material is centered around building the preconfigured server application retrieved from the examples repository. But you can also follow the same steps to build your custom application.
Open the examples directory where the cloned files are stored:
Configure the build:
cmake -S . -B build -DCMAKE_BUILD_TYPE=Release
-S .: Specifies the source directory where the CMakeLists.txt file is located. In this case, it’s the current directory represented by..-B build: Specifies the build directory where CMake will generate the build files and store the build artifacts. In this case, the build directory is named “build”.-DCMAKE_BUILD_TYPE=Release: Sets the build type to “Release”. This affects the build configuration, enabling optimizations and disabling debug symbols, which results in an optimized binary.
Build the project:
cmake --build build --config Release
Running The Server
After the successful build, run the gcs server executable by passing the path to the configuration file.
Now the server becomes operational and starts listening to all incoming messages.